Every holiday season, the kitchen fills with the warm, buttery smell of cookies. Thumbprint cookies are more than treats to me. They remind me of family gatherings, laughter, and tradition. This classic recipe turns simple ingredients into something truly special.
These cookies are a favorite on Christmas cookie platters everywhere. They have a buttery base and a dollop of jam on top. This mix of flavors captures the holiday spirit. Whether you’re an experienced baker or new to it, these cookies are a simple yet elegant way to bring joy.
Table of Contents
What Makes Thumbprint Cookies a Holiday Favorite

Holiday thumbprint cookies are a beloved tradition in many American homes. They bring the joy of Christmas baking with their simple design and tasty flavors.
The Origin of Traditional Thumbprint Cookies
These cookies come from Eastern European baking traditions. They started in places like Poland and Sweden. They were made to use leftover dough and add a personal touch to holiday baking.
- Developed in Eastern European kitchens
- Passed down through generations
- Symbolized family connection and creativity
Why These Cookies Are Perfect for Christmas
These treats are essential for your holiday baking. Homemade thumbprint cookies have several benefits during the festive season:
- Quick preparation (ready in under 30 minutes)
- Easy to customize with different fillings
- Beautiful presentation for cookie exchanges
- Kid-friendly baking activity
Key Features of Classic Thumbprint Cookies
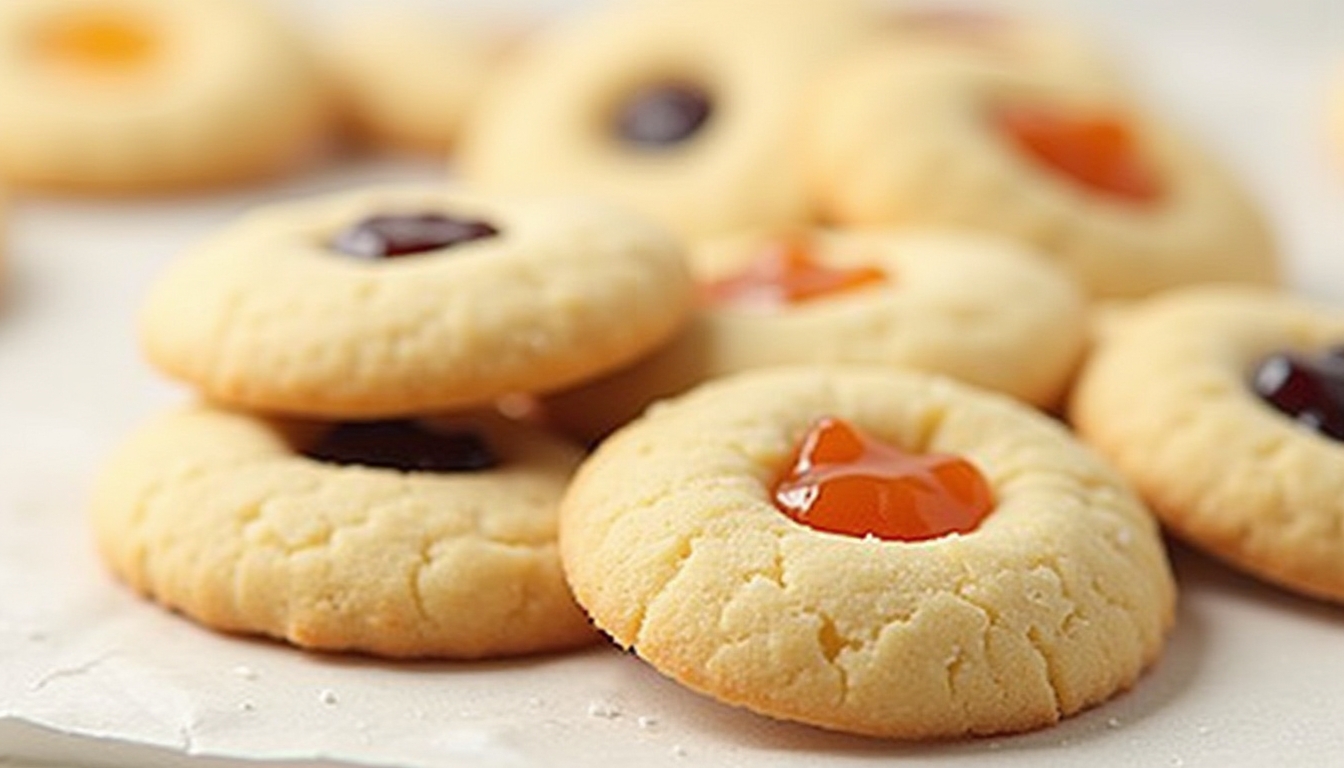
The charm of holiday thumbprint cookies is in their unique features. A buttery base and a pressed center make a perfect spot for jam or chocolate. These fillings add a festive sparkle.
Each cookie turns into a tiny masterpiece. It shows the warmth and creativity of the holiday season.
Essential Ingredients for Perfect Thumbprint Cookies Recipe

Making delicious thumbprint cookies starts with the right ingredients. Your recipe needs top-quality parts for rich, buttery taste and perfect texture.
For your buttery thumbprint cookies, you’ll need a special list of ingredients. They work together to make a treat you’ll remember:
- Unsalted butter – The base of your cookie’s rich flavor
- All-purpose flour – Gives structure and softness
- Brown sugar – Adds moisture and deep caramel notes
- Egg yolk – Makes the cookie tender and soft
- Pure vanilla extract – Boosts the overall taste
- Pinch of salt – Balances the sweetness
When picking ingredients for your thumbprint cookies, quality is key. Choose fresh, high-grade butter for that signature buttery taste.
Your filling choices are also key. While raspberry jam is a classic, you can try:
- Apricot preserves
- Chocolate ganache
- Lemon curd
- Nutella
Each ingredient is vital in making simple ingredients into amazing buttery thumbprint cookies. They will impress your family and friends.
Step-by-Step Instructions for Making Thumbprint Cookies
Making delicious thumbprint cookies is simpler than you think. This guide will show you how to make them from start to finish. You’ll get bakery-quality cookies in your own kitchen.
Preparing the Perfect Thumbprint Cookie Dough
To make the best thumbprint cookie dough, pay close attention. First, get all your ingredients ready and make sure they’re at room temperature. Your dough should be soft but firm enough to keep its shape.
- Cream butter and sugar until light and fluffy
- Add egg yolk and vanilla extract
- Gradually mix in flour and salt
- Chill the dough for 30 minutes to make it easier to handle
Shaping and Filling Techniques
The unique look of thumbprint cookies comes from their special indentation. You can use your thumb, the back of a spoon, or a small cork for a uniform look.
- Roll dough into 1-inch balls
- Create a deep indent in the center of each cookie
- Fill the indentation with your favorite jam or preserves
Baking Tips for Perfect Results
Baking thumbprint cookies needs careful attention. Preheat your oven to 350°F and keep an eye on them to avoid overcooking. They should be lightly golden around the edges when done.
- Bake for 12-15 minutes
- Allow cookies to cool on the baking sheet for 5 minutes
- Transfer to a wire rack to cool completely
Pro tip: The secret to great thumbprint cookies is not overbaking. They should be slightly soft when you take them out of the oven. They’ll set as they cool.
Creative Filling Options and Variations
When making easy jam thumbprint cookies, the filling is where your creativity can truly shine. While raspberry thumbprint cookies remain a classic favorite, you’re not limited to just one flavor. Your holiday baking can become an exciting culinary adventure!
Explore these delightful filling options for your thumbprint cookies:
- Fruit Jams: Beyond raspberry, try strawberry, apricot, or peach jam
- Chocolate ganache for a rich twist
- Nutella or other chocolate spreads
- Lemon curd for a tangy surprise
- Caramel for a decadent touch
For those wanting to experiment, consider these creative variations:
- Add ground cinnamon or nutmeg to your cookie dough
- Roll cookies in chopped nuts before baking
- Use different nut flours for unique textures
- Create savory versions with herb-infused dough
Your thumbprint cookies can become a personalized treat that reflects your taste and creativity. Don’t be afraid to mix and match fillings or experiment with unexpected flavor combinations!
| Jam Type | Flavor Profile | Best Paired With |
|---|---|---|
| Raspberry | Tart and Sweet | Almond-based cookies |
| Apricot | Mellow and Smooth | Vanilla or butter cookies |
| Strawberry | Classic and Bright | Shortbread-style cookies |
| Peach | Delicate and Soft | Coconut-rolled cookies |
Professional Tips for Flawless Thumbprint Cookies
Making perfect homemade thumbprint cookies is more than just a recipe. Professional bakers focus on precision and technique for top-notch results.
Getting good at thumbprint cookies takes time and the right tips. The right methods can turn your holiday baking into something special.
Preventing Common Baking Mistakes
Here are key mistakes to avoid when baking thumbprint cookies:
- Don’t overmix the dough to keep cookies soft
- Make sure ingredients are at room temperature for better mixing
- Chill the dough for 30 minutes to stop cookies from spreading
Achieving the Perfect Texture
The perfect thumbprint cookie is crisp on the outside and soft on the inside. Follow these expert tips:
- Use a small cork instead of your thumb for even wells
- Chop nuts finely for better coating and evenness
- Bake at the exact temperature your recipe calls for
Decorative Finishing Touches
Enhance your thumbprint cookies with these creative touches:
- Pipe filling with a zip-top bag for precise lines
- Make marbled icing with food coloring
- Add edible glitter or decorations while filling is warm
With these expert tips, your thumbprint cookies will impress like they’re from a fancy bakery.
Storage and Make-Ahead Guidelines
Keeping your homemade thumbprint cookies fresh is key. Whether you’re making them ahead or saving leftovers, the right storage is essential. It helps keep their taste and texture just right.
Room Temperature Storage
Store your thumbprint cookie dough at room temperature for the best taste. Use an airtight container and add parchment paper between layers to avoid sticking. They stay fresh for 3-5 days this way.
Refrigeration and Freezing Options
- Refrigerate homemade thumbprint cookies in a sealed container for up to one week
- Freeze unbaked thumbprint cookie dough in 1-inch balls for up to 3 months
- Freeze baked cookies for maximum preservation of flavor and texture
Freezing Guidelines
| Storage Method | Duration | Recommended Technique |
|---|---|---|
| Unbaked Dough | 3 months | Freeze in portioned balls |
| Baked Cookies | 2 months | Layer between parchment paper |
Pro tip: When ready to bake frozen dough, let the thumbprint cookie dough thaw slightly at room temperature before placing in the oven. This ensures even baking and maintains the cookie’s delicate texture.
Thawing and Serving
To bring back the freshness of frozen cookies, thaw them at room temperature for 15-30 minutes. This gentle thawing keeps their taste and softness intact.
Nutritional Information and Serving Size
Enjoying your favorite classic thumbprint cookies can be fun and healthy. Knowing their nutritional details helps you enjoy them wisely. The recipe balances taste with moderation.
Understanding Your Dietary Needs
Keeping track of your cookie intake is key to a balanced diet. Thumbprint cookies are a tasty treat, but eating mindfully is important. This way, you can enjoy them without hurting your health goals.
Smart Portion Control Strategies
- Limit yourself to 2-3 cookies per serving
- Pair with a glass of milk for balanced nutrition
- Share with friends and family
- Store extras to prevent overindulgence
Pro tip: Consider your overall daily calorie intake when enjoying these classic thumbprint cookies during holiday celebrations.
Special Holiday Decorating Ideas
Turn your homemade thumbprint cookies into festive masterpieces. Use creative decorating techniques to dazzle your family and friends. Holiday thumbprint cookies are perfect for showing off your culinary creativity.
Begin by choosing colors that match different holidays. For Christmas, use classic red and green frosting. Hanukkah calls for blue and white swirled designs that sparkle with winter magic.
- Use food coloring to create marbled frosting effects
- Experiment with holiday-themed sprinkles
- Add edible glitter for extra festive shine
- Incorporate miniature decorative elements
Pro tip: Gently swirl food coloring into white frosting without fully mixing. This creates stunning marble-like patterns that look professionally crafted.
| Holiday | Color Palette | Decorating Technique |
|---|---|---|
| Christmas | Red and Green | Swirled frosting, candy cane sprinkles |
| Hanukkah | Blue and White | Marbled icing, silver edible glitter |
| Winter Wonderland | White and Silver | Snowflake sprinkles, pearl dust |
Remember, the key to stunning holiday thumbprint cookies is letting your imagination run wild. Each cookie becomes a tiny work of art that reflects your personal style and festive spirit.
Conclusion
Classic thumbprint cookies are more than a tasty treat. They are a beloved holiday tradition that brings families closer. Your journey through this recipe turns simple ingredients into lasting memories.
These holiday thumbprint cookies are very flexible. You can try out different fillings and decorations. Whether you’re new to baking or have lots of experience, the techniques we’ve shared will help you make amazing cookies. These cookies will impress your loved ones and become a key part of your holiday celebrations.
Baking is about enjoying the journey and sharing happiness. Each batch of classic thumbprint cookies has its own story. From mixing the ingredients to placing them on a festive plate, your touch makes them special. These cookies become a heartwarming experience that connects families across generations.
We encourage you to make these thumbprint cookies your own. Share them with friends and family, and add your own creative twist. The magic of holiday baking is not just in the delicious cookies. It’s in the love and care you put into every cookie.
Tried Our Recipe Yet?
There are no reviews yet. Be the first one to write one.