Every loaf of sourdough sandwich bread has a story. It’s about patience, tradition, and magic in the kitchen. My kitchen changed when I started making homemade sourdough. It connected me to bakers through the ages.
Making sourdough sandwich bread is more than cooking. It’s a journey that turns simple ingredients into something amazing. You’ll see how flour, water, and wild yeast create a bread unlike any store-bought one.
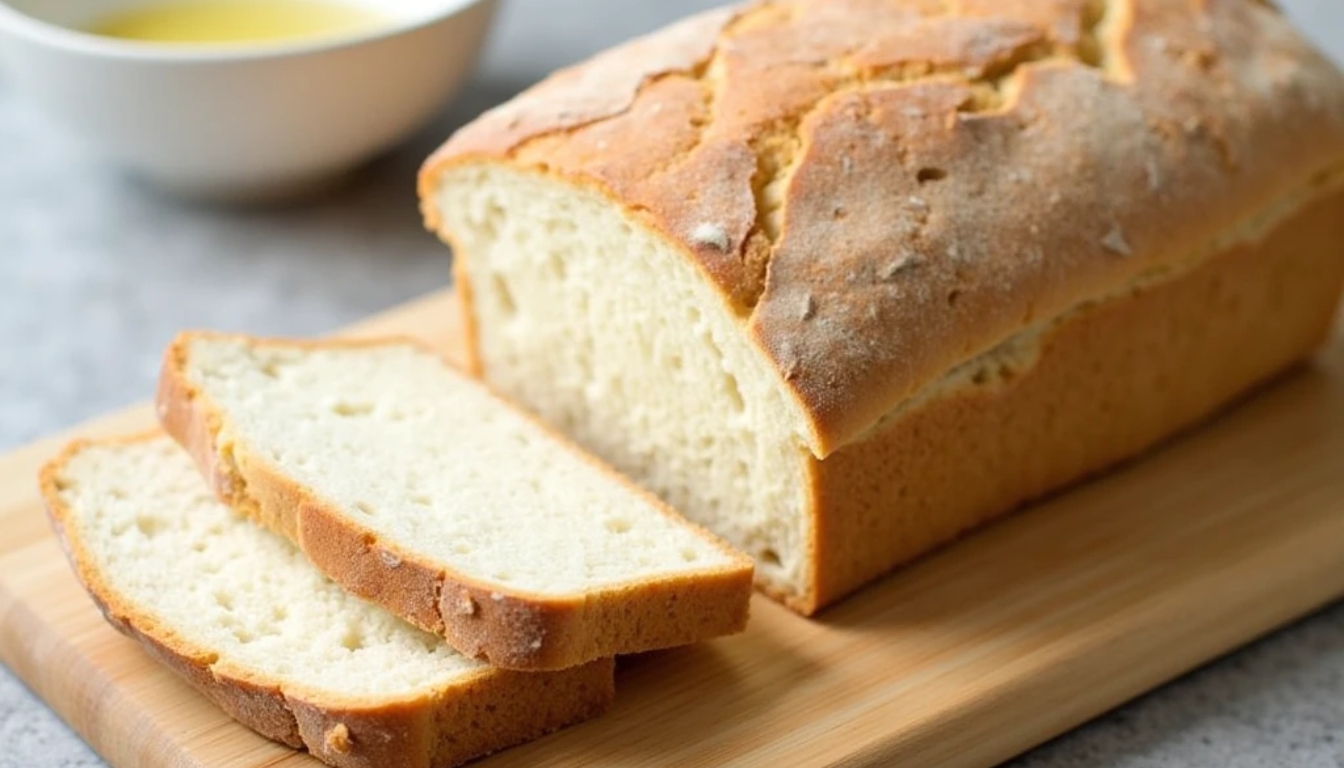
This guide will help you make perfect sourdough sandwich bread. It’s soft, flavorful, and full of nutrients. Whether you’re new to baking or a pro, you’ll love this timeless craft.
Table of Contents
Why Choose Homemade Sourdough Sandwich Bread
Making your own soft sourdough bread is a fun kitchen adventure. It’s not just about the taste. It’s also about controlling what you eat and choosing a healthier option than store-bought bread.

Benefits of Natural Fermentation
Natural fermentation changes the game for bread lovers. It breaks down carbs, making the bread easier to digest. This process also:
- Improves nutrient absorption
- Reduces gluten sensitivity
- Enhances flavor
Nutritional Advantages Over Store-bought Bread
Your homemade sourdough has big nutritional benefits over commercial bread. Here’s why:
| Characteristic | Homemade Sourdough | Store-bought Bread |
|---|---|---|
| Preservatives | None | Multiple chemical additives |
| Probiotic Content | High | Minimal |
| Nutrient Availability | Enhanced | Reduced |
Cost-effective Bread Making at Home
Baking your own soft sourdough bread is not only healthier. It’s also economical. With just a few ingredients and some practice, you can save money. Plus, you get fresh bread that’s just right for you.
Essential Ingredients for Perfect Sourdough Sandwich Bread

To make a tasty sourdough starter bread, you need the right ingredients. Each part plays a key role in making a great sandwich bread. Knowing how they work together is key.
The heart of your sourdough sandwich bread is a lively sourdough starter. It adds flavor and makes the bread rise. Make sure your starter is full of life and bubbles.
- Active Sourdough Starter: The heart of your bread’s flavor and rise
- Warm Water: Activates ingredients and supports fermentation
- Unsalted Butter: Adds richness and tender texture
- High-Quality Flour Blend: Provides structure and depth
Choosing the right flour is important for the bread’s texture. Mix bread flour and all-purpose flour for the best result. Bread flour makes the bread strong, while all-purpose flour makes it soft.
Here are the main ingredients for your sourdough starter bread recipe:
| Ingredient | Purpose | Recommended Amount |
|---|---|---|
| Bread Flour | Protein structure | 3 cups |
| All-Purpose Flour | Softness | 1 cup |
| Salt | Flavor enhancement | 1.5 tsp |
Feel free to try new things with your ingredients. Swap butter for olive oil or add whole wheat flour for extra health benefits. Sourdough is all about trying new things and adding your own touch.
Understanding Your Sourdough Starter
Your sourdough starter is the heart of any sourdough bread recipe. It’s a mix of flour, water, and wild yeasts. This mix turns simple ingredients into bread with deep flavors and amazing texture.
Building a strong sourdough starter takes time and care. It’s a living ecosystem that gets better with time. With the right care, it becomes more flavorful and lively.
Maintaining an Active Starter
To keep your sourdough starter thriving, follow these tips:
- Use high-quality unbleached flour
- Maintain consistent feeding temperatures
- Use filtered or spring water
- Keep your starter at room temperature
Signs of a Healthy Starter
A healthy sourdough starter shows certain signs. These signs mean it’s ready for baking:
| Characteristic | Healthy Indicator |
|---|---|
| Smell | Pleasantly sour, slightly tangy |
| Bubbles | Consistent, active bubbling |
| Volume | Doubles within 4-8 hours after feeding |
Feeding Schedule and Ratios
Your sourdough starter needs regular feeding to stay active. Consistency is key for a thriving starter.
- Feed starter daily if kept at room temperature
- Use a 1:1:1 ratio of starter, flour, and water
- Discard portion of starter before each feeding
Sourdough Sandwich Bread Recipe
Making your own sourdough sandwich bread is a journey of precision and passion. This recipe will guide you in creating a delicious loaf. It will change how you enjoy sandwiches.
To start making your sourdough sandwich bread, you’ll need a few ingredients:
- 150g active sourdough starter
- 350g bread flour
- 150g whole wheat flour
- 325g water
- 10g salt
- 25g olive oil
Your kitchen scale is essential for this homemade sourdough sandwich loaf. Precise measurements ensure consistent results. They help you create a recipe you can trust and repeat with confidence.
Begin by mixing your active starter with water in a large bowl. Slowly add the flours, making a shaggy dough. Let it rest for 30 minutes to fully hydrate the flour. This step, called autolyse, improves gluten structure and flavor.
Once rested, add salt and olive oil. Knead the dough until it’s smooth and elastic. It should feel soft and slightly tacky but not too sticky.
Remember, mastering this sourdough sandwich bread recipe takes time. Each batch will teach you something new about fermentation, hydration, and sourdough baking.
Mastering the Bulk Fermentation Process
The bulk fermentation stage is key to making perfect overnight sourdough sandwich bread. It turns simple ingredients into a dough full of flavor and texture.
In this stage, your sourdough gets its unique taste through slow changes. Wild yeasts and bacteria break down carbs, making it tangy.
Temperature Considerations
Your kitchen’s temperature affects how your sourdough ferments. Different temps change how long it takes:
- Cool kitchens (60-65°F): Slower fermentation, potentially 12-14 hours
- Moderate kitchens (70-75°F): Ideal fermentation, around 8-10 hours
- Warm kitchens (80-85°F): Faster fermentation, potentially 5-7 hours
Time and Environment Factors
For good bulk fermentation, watch your environment closely. Look for signs of dough development. The container should let the dough expand, and the temperature should stay the same.
Visual Cues for Perfect Fermentation
Knowing when your dough is ready takes practice. Look for these signs:
- Increased volume (approximately 30-50% rise)
- Visible bubbles throughout the dough
- Soft, jiggly surface with slight dome
- Slightly domed surface that feels puffy
Your dough should look and feel alive. Aim for a balance of softness and strength for the best sandwich bread.
Shaping and Second Rise Techniques
Turning your sourdough dough into a great sandwich loaf needs careful shaping and proofing. The right method can change a dense, heavy bread into a light, airy one.
Start by stretching your dough into a rectangle on a lightly floured surface. This helps your bread rise well. Here’s how to shape it:
- Fold the dough’s long sides inward
- Roll the dough tightly into a log
- Pinch the seam to seal
- Place the shaped loaf into a greased bread pan
The second rise is key for flavor and texture in your bread. During this time, the dough will get bigger and puff up. Look for these signs of a perfect proof:
- Dough rises about 1 inch above the pan’s rim
- Gentle indentation slowly springs back when pressed
- Visible small bubbles on the surface
Room temperature affects proofing time. Warmer places make it faster, while cooler ones slow it down. Usually, the second rise takes 2-4 hours, based on your kitchen’s temperature.
Baking Methods and Temperature Control
Making the perfect artisan sourdough sandwich bread needs careful baking and temperature control. The right methods can turn your homemade loaf into a crispy crust and soft inside. This will make your taste buds happy.
Temperature is very important when baking sourdough sandwich bread. It helps get the right texture and flavor. Professional bakers use consistent heat and moisture to make a top-quality loaf.
Creating the Perfect Crust
To get a beautiful crust on your sourdough sandwich bread, try these tips:
- Preheat your oven to 375 degrees Fahrenheit
- Use a cast iron skillet or baking stone for even heat
- Create steam during the first 15 minutes of baking
Steam Methods for Better Results
Steam is a secret tool for bakers to get a crisp, golden crust. Here are some steam methods for your sourdough sandwich bread:
- Place a pan of ice cubes on the bottom rack of the oven
- Spray water into the oven during the first 10 minutes of baking
- Use a Dutch oven with a lid for trapped moisture
Determining When Bread is Done
| Doneness Indicator | What to Look For |
|---|---|
| Internal Temperature | 205-210°F when checked with a digital thermometer |
| Crust Color | Deep golden brown with a slight shine |
| Sound Test | Hollow sound when tapping the bottom of the loaf |
Your artisan sourdough sandwich bread will bake for 40-50 minutes. Use your senses and check with multiple indicators to get a perfectly baked loaf every time.
Storage and Preservation Tips
Keeping your homemade sourdough sandwich loaf fresh is key. It stays tasty for 3-5 days with the right storage.
There are a few great ways to store your loaf:
- Room Temperature Storage: Store it in a paper bag or bread box at room temperature. This is best for the first two days.
- Plastic Bag Method: Use a plastic bag to keep moisture in. This helps prevent the bread from drying out fast.
- Refrigeration: Refrigeration can extend its life if wrapped tightly. But it’s not always the best choice.
Freezing is a great way to keep your loaf fresh. Slice it before freezing for easy thawing. Wrap it in plastic wrap and then a freezer bag to avoid freezer burn.
Want to make stale bread fresh again? Sprinkle it with water and warm it in the oven for a few minutes. It’ll be soft and taste like new.
- Freeze for up to 3 months
- Thaw at room temperature
- Enjoy within 24 hours of thawing
Follow these tips to keep your homemade sourdough sandwich loaf fresh and flavorful. Every slice will be as good as the first.
Troubleshooting Common Issues
Baking easy sourdough bread for sandwiches can sometimes present challenges, even for experienced home bakers. Understanding how to address common problems will help you create consistently delicious bread.
Crafting the perfect sourdough sandwich bread requires patience and practice. Some bakers encounter specific issues that can affect the quality of their loaves.
Dealing with Dense Loaves
Dense sourdough sandwich bread often results from a few key factors:
- Weak or inactive sourdough starter
- Insufficient kneading or stretching
- Inadequate proofing time
- Incorrect hydration levels
Fixing Torn Crusts
Torn crusts can be frustrating when making easy sourdough bread for sandwiches. To prevent this issue:
- Ensure proper scoring before baking
- Create enough steam during initial baking
- Check your oven’s temperature accuracy
- Allow the dough to warm up before baking
Addressing Fermentation Problems
Fermentation can be tricky for sourdough bakers. Watch for these signs of possible issues:
- Starter not rising consistently
- Unusual smell or discoloration
- Lack of bubbles in the starter
Pro tip: If the top of your loaf browns too quickly, cover it with aluminum foil during baking to prevent excessive coloration.
Remember, every baking challenge is an opportunity to improve your sourdough sandwich bread skills. Practice and patience will help you become a confident home baker.
Conclusion
Making whole wheat sourdough sandwich bread turns your kitchen into a bakery. You’ve learned how to make delicious, healthy bread from scratch. This skill will make your baking better.
The no-knead sourdough method lets you explore new flavors. It’s a world beyond what store-bought bread offers. You can create amazing bread at home.
Your sourdough journey is just starting. Every loaf you make will teach you something new. Try different flours and ways of making bread to find your style.
The sourdough community is full of support and knowledge. Share your baking stories and learn from others. Your sourdough adventure is just beginning.
Great bread needs practice. Don’t worry about mistakes. Enjoy making your bread and savor every bite. Your kitchen is now a place for endless creativity.
Tried Our Recipe Yet?
There are no reviews yet. Be the first one to write one.