Every family has a special recipe that brings everyone together. For me, it’s this amazing easy fudge recipe. It turns simple ingredients into magic. Watching my grandmother make her famous fudge was like seeing magic happen.
The kitchen filled with a chocolate smell that made everyone gather. Today, I’m excited to share a simple way to make fudge. This recipe is perfect for beginners or experienced cooks. It’s great for parties, gifts, or just enjoying a sweet treat.
Imagine making a rich, creamy chocolate treat with just five ingredients. This easy fudge recipe shows that you don’t need to be a pro to make delicious desserts. You’ll be amazed at how quickly you can make this tasty treat.
Table of Contents
Why This Easy Fudge Recipe Is Perfect for Beginners

Starting with homemade desserts can seem scary. But this easy fudge recipe is here to make it fun and simple. It’s perfect for anyone new to cooking or baking. This no-bake fudge recipe will make you feel confident and happy.
Benefits of Making Homemade Fudge
Making fudge is a great way to begin cooking at home. It’s easy and fun, needing only basic skills. You’ll get a lot of joy from making it.
- Instant gratification with a delicious treat
- Complete control over ingredients
- Opportunity to develop basic cooking techniques
- Potential for creative flavor experiments
Time and Cost Savings
Homemade fudge is not only tasty but also budget-friendly. It saves you time and money compared to buying it. With a few simple ingredients, you can make lots of fudge quickly.
No Special Equipment Needed
This fudge recipe is great because you don’t need fancy tools. Just a saucepan, bowl, and basic measuring tools are enough. You can make a delicious treat without spending a lot.
Get ready to amaze yourself and others with this incredibly easy no-bake fudge recipe. It shows that anyone can be a dessert master!
Essential Ingredients for Perfect Chocolate Fudge
To make a delicious chocolate fudge, you need the right ingredients. These ingredients turn simple parts into a tasty treat. Knowing what makes this dessert so good is key.

The secret to great chocolate fudge is in its ingredients. Each one is important for the fudge’s creamy texture and deep flavor. This makes it a favorite among many.
- Sweetened Condensed Milk: This ingredient makes the fudge smooth and sweet
- Semi-Sweet Chocolate Chips: They give the fudge its rich chocolate taste
- Vanilla Extract: It adds depth and balances the chocolate
- Sea Salt: It balances the sweetness and brings out the chocolate
- Optional Cinnamon: It adds a warm, subtle flavor
Choosing high-quality ingredients is vital for your fudge. Using top-notch chocolate chips and pure vanilla can make your fudge stand out.
| Ingredient | Quantity | Purpose |
|---|---|---|
| Sweetened Condensed Milk | 1 (14 oz) can | Provides creamy base and sweetness |
| Semi-Sweet Chocolate Chips | 3 cups | Primary flavor and texture |
| Vanilla Extract | 1 teaspoon | Flavor enhancement |
| Sea Salt | 1/4 teaspoon | Flavor balancing |
If you follow a special diet, you can make changes. Dark chocolate chips offer a deeper flavor. Dairy-free condensed milk is great for vegan treats.
Kitchen Tools and Equipment Setup
Making delicious homemade fudge is easy, even without a fancy kitchen. Just a few simple tools can help you become a pro at making fudge in your own kitchen.
To start making fudge, you need the right tools and a tidy workspace. The best part is, you probably already have everything you need for this easy recipe.
Essential Utensils for Fudge Making
- Medium-sized heavy-bottomed saucepan
- Wooden spoon or heat-resistant spatula
- 8×8 inch baking pan
- Measuring cups and spoons
- Candy thermometer (optional but recommended)
Pan Preparation Techniques
Getting your pan ready is key for easy fudge removal. Line your 8×8 inch pan with parchment paper, leaving some overhang. This makes it simple to lift the fudge out once it’s set.
Optional Tools for Enhanced Results
| Tool | Purpose | Benefit |
|---|---|---|
| Digital Kitchen Scale | Precise ingredient measurement | Ensures consistent texture |
| Silicone Spatula | Scraping and mixing | Prevents ingredient waste |
| Instant-Read Thermometer | Temperature monitoring | Guarantees perfect fudge consistency |
Pro tip: While these tools can enhance your fudge-making experience, they aren’t mandatory for creating a delicious batch of homemade fudge.
Step-by-Step Preparation Process
Making perfect homemade fudge needs care and patience. This easy fudge recipe makes it simple for anyone to follow. It breaks down the steps into easy parts.
- Prepare Your Workspace
Get your kitchen ready with all ingredients and tools close. This makes cooking easier and smoother.
- Combine Base Ingredients
In a big saucepan, mix sugar, butter, and milk. Stir well to make a smooth base for your fudge.
- Heat and Stir
Heat the saucepan on medium. Stir constantly to avoid burning. Look for a smooth, bubbly mix.
- Chocolate Melting Stage
Add chocolate chips or chopped chocolate to the mix. Whisk until it’s fully incorporated for a creamy texture.
- Final Mixing
Take it off the heat and beat hard until it loses shine. This step is key for the right fudge texture.
Pro tip: Watch your mix’s temperature and texture closely. The right moments can make all the difference in fudge success.
Follow these steps to turn simple ingredients into a delicious treat. Your homemade fudge will wow everyone with its creamy texture and rich taste.
The Secret to Achieving Creamy Texture
Making perfect fudge is all about mastering a few key techniques. These tricks turn a simple chocolate fudge recipe into a delicious treat. The texture of your fudge is what makes it special.
Knowing the science behind fudge-making is key to getting that smooth texture. Temperature is very important for achieving the perfect consistency.
Temperature Control Mastery
Getting the temperature just right is essential for perfect fudge. Here are some tips to help you achieve creamy fudge:
- Use a reliable candy thermometer for accuracy
- Heat ingredients slowly and evenly
- Avoid stirring during critical heating stages
Mixing Techniques for Smooth Perfection
The right way to mix can make your fudge smooth and perfect. Try these methods:
- Allow mixture to cool without disturbing
- Beat gently when temperature reaches 110°F
- Stop mixing when fudge begins to lose its glossy sheen
| Texture Problem | Potential Cause | Solution |
|---|---|---|
| Grainy Texture | Incorrect sugar crystallization | Cool slowly, beat minimally |
| Too Soft | Insufficient cooking | Ensure mixture reaches correct temperature |
| Dry/Crumbly | Overbeating | Stop mixing when texture starts to set |
With these expert techniques, you’ll make fudge that wows everyone. Remember, practice and patience are the best ingredients for perfect chocolate fudge.
Cooling and Setting Guidelines
After making your easy fudge recipe, cooling it is key. It turns your soft mix into a delicious homemade fudge. This fudge will have a smooth, creamy texture.
Cooling needs patience and care. First, put your fudge in a lined baking pan. Make sure to spread it out evenly. This helps it cool and set right.
- Room temperature cooling: Let the fudge sit at room temperature for 15-20 minutes
- Refrigerator setting: Chill for 2-3 hours for optimal consistency
- Avoid rushing the process to maintain texture quality
Temperature is very important for the right fudge texture. Too fast cooling can make it grainy. But slow cooling makes it smooth and delicious.
| Cooling Method | Time Required | Texture Result |
|---|---|---|
| Room Temperature | 30-45 minutes | Soft, slightly tacky |
| Refrigerator | 2-3 hours | Firm, smooth |
| Overnight | 8-12 hours | Perfect cutting consistency |
Your homemade fudge is done when it’s firm and can be cut cleanly. A tip: Use a sharp knife warmed under hot water for clean cuts.
Storage Tips for Extended Freshness
Keeping your homemade fudge fresh is key. It’s all about the right storage techniques. Follow these tips to keep your sweet treat tasting great for longer.
Storing your fudge right is essential. It keeps it soft, creamy, and ready to eat for a long time. Here’s how to do it.
Refrigeration Methods
For top-notch fudge, follow these fridge tips:
- Keep fudge in an airtight container
- Maintain refrigerator temperature between 35-40°F
- Separate layers with wax paper or parchment
Proper Packaging Techniques
Packaging is vital for fudge freshness. Here’s what to do:
| Packaging Method | Preservation Duration | Best For |
|---|---|---|
| Plastic Wrap | 1-2 weeks | Short-term storage |
| Vacuum Sealed Bags | 3-4 weeks | Extended preservation |
| Freezer Storage | 2-3 months | Long-term conservation |
Pro tip: Cool your fudge completely before packaging. This prevents moisture issues that can ruin taste and texture.
With these storage tips, your homemade fudge will stay fresh for weeks. Enjoy every delicious bite, just like when you first made it.
Flavor Variations and Add-ins
Turn your easy fudge recipe into a tasty treat by trying new flavors and add-ins. The basic chocolate fudge recipe is a great base for your creativity.
Classic mix-ins can make your fudge amazing. Here are some tasty options:
- Nutty Delights: Chopped pecans, walnuts, or almonds
- Fruity Twists: Dried cranberries or orange zest
- Chocolate Lover’s Dream: Different chocolate chip varieties
Looking for something unique? Try these creative variations:
| Flavor Variation | Key Ingredients |
|---|---|
| Salted Caramel Fudge | Sea salt, caramel drizzle |
| Mint Chocolate Chip | Peppermint extract, green food coloring |
| Espresso Chocolate | Instant coffee powder, dark chocolate chips |
Pro tip: Add mix-ins after cooling the mixture to keep their texture. Start with small batches to find your favorite!
The best part of an easy fudge recipe is how versatile it is. Be bold and create your own special treat. It will surely wow your family and friends.
Troubleshooting Common Fudge-Making Mistakes
Making perfect fudge can be tough for beginners. Knowing common mistakes helps you follow simple steps and get great results every time.
When you’re new to fudge, a few mistakes can stop you from success. Keeping the temperature right is key. If it’s too high or too low, your fudge won’t turn out right.
- Grainy Texture: This is caused by sugar crystals forming. To avoid it, stir less, use a candy thermometer, and don’t scrape the sides of the pan.
- Soft or Runny Fudge: This is often due to the wrong temperature. To fix it, cook to 234-237°F, use a good thermometer, and let it cool properly.
- Hard, Crumbly Fudge: This comes from cooking too long. To prevent it, stop heating at the right time, don’t overbeat, and measure accurately.
For beginners, remember: Use fresh ingredients and stick to your recipe. Being patient and practicing will help you make delicious, creamy fudge every time.
Serving Suggestions and Presentation Ideas
Turning your homemade fudge into a stunning dessert takes creativity and detail. With the right presentation, your easy confection can be a showstopper.
Precision in Cutting
Cutting your homemade fudge needs careful technique. Follow these tips for perfect portions:
- Cut fudge into 1-inch square pieces for consistent sizing
- Use a sharp knife warmed in hot water for clean edges
- Wipe blade clean between cuts to maintain neat lines
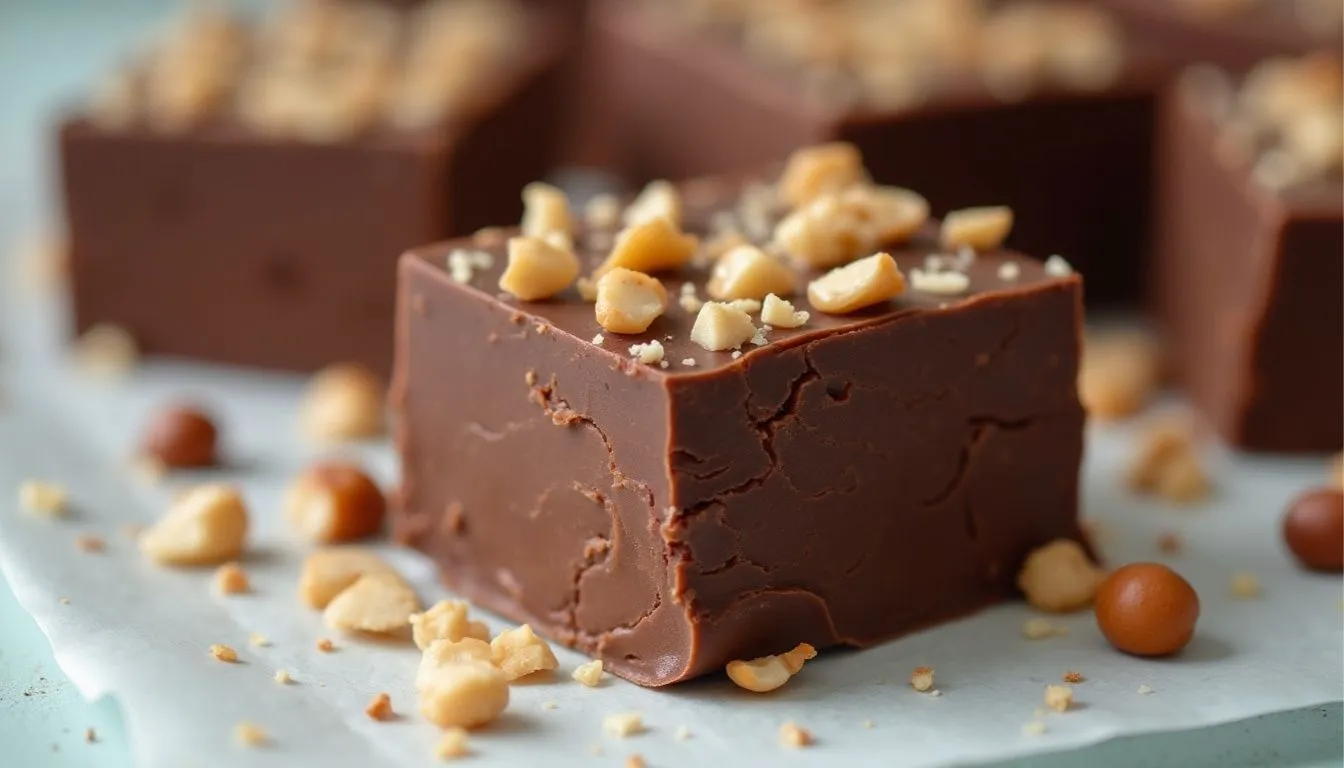
Elegant Garnishing Options
Boost your fudge’s look with these garnishing ideas:
- Sprinkle sea salt for a gourmet touch
- Drizzle melted chocolate
- Add crushed nuts or colorful sprinkles
Gift-Worthy Packaging
Make your homemade fudge a memorable gift with thoughtful packaging:
| Packaging Style | Best For | Presentation Tip |
|---|---|---|
| Clear Gift Box | Formal Events | Ribbon-tied with personalized tag |
| Mason Jar | Rustic Gifts | Layer fudge pieces with parchment |
| Decorative Tin | Holiday Giving | Line with festive tissue paper |
Your homemade fudge deserves to be showcased. Try these serving and presentation ideas to make your easy confection unforgettable.
Conclusion
Making your own fudge is easy. This simple recipe shows you can make a delicious treat with just five ingredients. You’ve learned to turn basic items into a rich dessert that will wow everyone.
This recipe is easy and flexible. It works for beginners and experienced cooks alike. You can now make smooth, creamy fudge that’s as good as store-bought.
Now, it’s time to try new flavors and make the fudge your own. Share your fudge with friends and family. Don’t be shy to add your own twist with mix-ins or decorations. Your fudge journey is just starting!
Remember, the more you make, the better you’ll get. Each batch will make you more confident in the kitchen. Enjoy the fun of making something tasty from scratch and savor every sweet moment.
Tried Our Recipe Yet?
There are no reviews yet. Be the first one to write one.