The smell of a homemade apple pie can make any day special. As a home baker, I’ve found that making the perfect easy apple pie is more than just ingredients. It’s about creating warmth and connection in your kitchen.
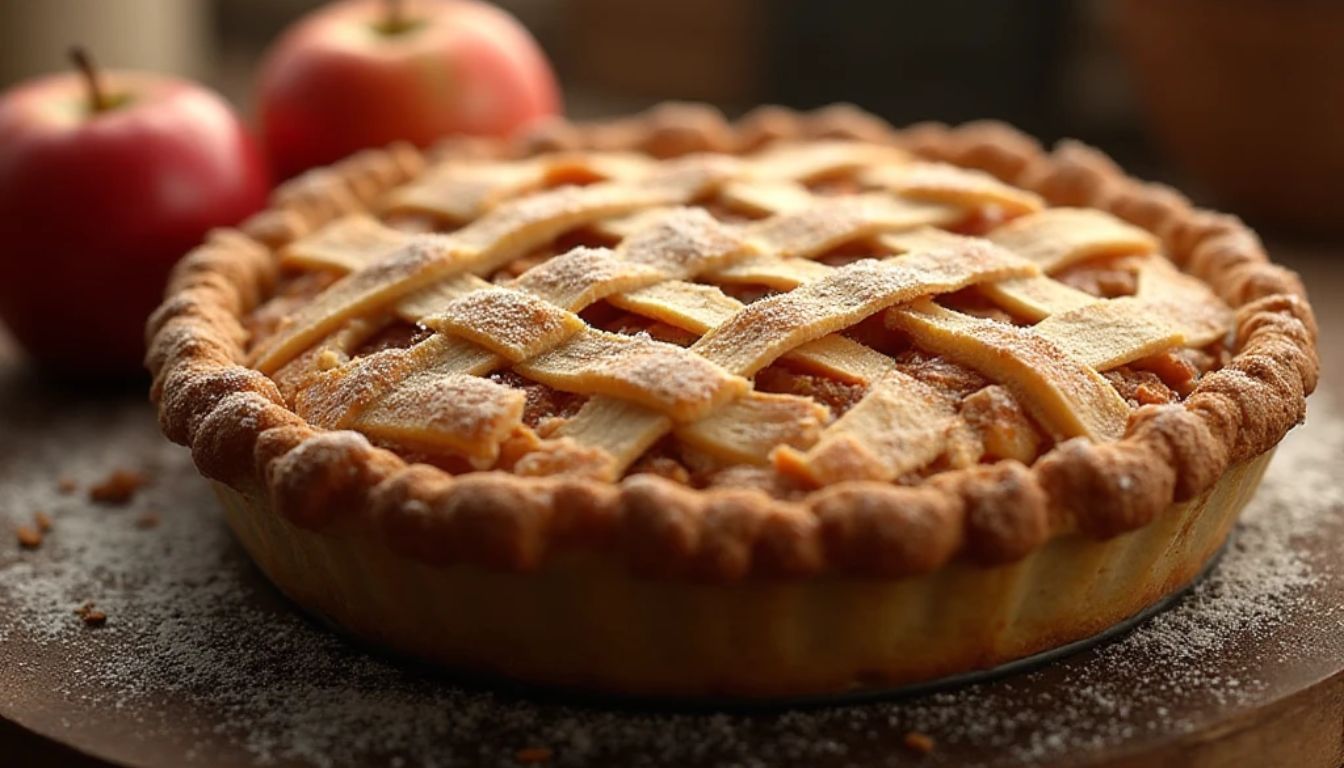
Picture pulling a golden-brown pie from the oven. Its flaky crust and sweet apple filling fill your home with comfort. This pie is more than a dessert; it’s a way to bring families together and make memories.
The secret to a great apple pie is simple ingredients and patience. Most recipes promise quick results, but this one suggests letting your pie rest overnight. This makes the flavors richer and the texture amazing, so everyone will want more.
Table of Contents
Why This Classic Apple Pie Recipe Will Become Your Family Favorite
Discover the ultimate simple apple dessert that turns fall baking into a masterpiece. This apple pie recipe is more than just a dessert. It’s a family tradition waiting to be shared. Imagine a pie so delicious, even those who don’t like apple desserts will want more.

Traditional Comfort Food Appeal
Every bite of this pie brings warmth and nostalgia. Its perfectly balanced spices create an irresistible aroma. Fall baking ideas come and go, but this recipe endures.
- Warm cinnamon notes that dance on your palate
- Subtle hints of nutmeg and clove
- Buttery, flaky crust that melts in your mouth
Perfect for Special Occasions and Holidays
Whether you’re hosting a family gathering or a holiday feast, this pie is perfect. It’s versatile for any occasion, from casual dinners to grand celebrations.
| Occasion | Pie Appeal |
|---|---|
| Thanksgiving | Centerpiece dessert |
| Family Reunions | Crowd-pleasing favorite |
| Weekend Gatherings | Comfort food classic |
Award-Winning Recipe Features
What makes this pie special are the carefully selected ingredients and traditional techniques. Professional bakers love its flavor and texture. You’ll make a dessert that rivals the best bakeries.
- Professional-grade flavor profile
- Easy-to-follow recipe
- Guaranteed crowd-pleaser
Essential Ingredients for Your Homemade Apple Pie
Making the perfect apple pie begins with picking the right ingredients. Success comes from using top-notch parts that make your pie stand out. Let’s look at the key elements for a memorable homemade apple pie.

Best Apple Varieties for Baking
Choosing the right apple variety is key for a granny smith apple pie. Not all apples are good for baking. Some stay firm, while others get mushy. Here are your best choices:
- Granny Smith: Tart and firm, perfect for baking
- Honeycrisp: Sweet with excellent structure
- Pink Lady: Balanced flavor profile
- Jonagold: Excellent for pies
- Golden Delicious: Soft and sweet
Sugar and Spice Combinations
The secret to a memorable pie is in your sugar and spice mix. Brown and granulated sugar add depth. Spices bring warmth and complexity.
| Spice | Flavor Profile | Quantity Recommendation |
|---|---|---|
| Cinnamon | Warm, sweet | 1-2 teaspoons |
| Nutmeg | Earthy, subtle | 1/4 teaspoon |
| Ginger | Spicy, bright | 1/2 teaspoon |
Crust Components Explained
Getting the best crust for your apple pie needs precision. Cold ingredients are your secret. Use chilled butter, ice water, and minimal handling for a flaky, tender crust that matches your chosen apples.
- Use unsalted butter straight from the refrigerator
- Incorporate flour carefully to prevent overworking
- Rest dough in the refrigerator for optimal texture
Easy Apple Pie Recipe: Step-by-Step Instructions
Making a delicious quick apple pie is easy. This dutch apple pie recipe will guide you to make a tasty dessert. It will impress your family and friends. Let’s break it down into simple steps.
First, gather your ingredients for this classic dutch apple pie recipe. You’ll need fresh apples, sugar, spices, and a perfect pie crust. The secret to a great apple pie is in the preparation and technique.
- Prepare your pie crust first and chill it in the refrigerator
- Select the freshest, firmest apples for the best flavor
- Mix your apple filling with care and attention to detail
Pro tip: Don’t pre-cook your apples! Instead, slice them thinly and toss with sugar and spices. Let the mixture sit for about an hour to release natural juices and intensify the flavor.
- Peel and slice apples uniformly
- Combine apples with sugar, cinnamon, and a pinch of salt
- Let the mixture rest to develop rich flavors
- Roll out your chilled pie crust
- Carefully transfer the apple filling into the crust
- Create a beautiful top crust or lattice design
Your quick apple pie is almost ready to bake. The secret is in the details – from choosing the right apples to letting the filling develop its flavors. With these steps, you’ll create a dutch apple pie that looks and tastes like it came from a professional bakery.
The Secret to a Perfect Flaky Pie Crust
Making the best crust for apple pie needs precision and smart techniques. A homemade apple pie is special when its crust is golden, crisp, and flaky. It’s all about how you handle your ingredients and dough.
Success in pie crust comes from a few key principles. Professional bakers say it’s all about keeping ingredients cold and handling the dough gently. This is how you get that tender, flaky texture everyone adores.
Cold Ingredient Strategies
Cold ingredients are key for the best crust. Here’s why temperature is important:
- Butter should be refrigerated until just before use
- Use ice water to prevent gluten development
- Chill mixing bowls and utensils for extra insurance
Expert Handling Techniques
When making your homemade apple pie crust, keep these tips in mind:
- Cut butter into small cubes before mixing
- Use a pastry cutter or fork to blend ingredients
- Avoid overworking the dough
Pre-Baking Guidelines
| Pie Type | Pre-Bake Needed | Temperature | Duration |
|---|---|---|---|
| Fresh Fruit Pies | Optional | 375°F | 10-15 minutes |
| Custard Pies | Recommended | 425°F | 15-20 minutes |
Pro tip: Rest your dough in the refrigerator for at least 30 minutes before rolling. This ensures maximum flakiness in your homemade apple pie crust.
Apple Filling Preparation Methods
Making the perfect apple pie filling is more than just tossing apples into a crust. The way you prepare it can make a huge difference. Learning how to make your apple pie filling will boost your baking skills and wow your loved ones.
First, pick the right apples for your filling. Not all apples are good for baking. You need ones that stay firm and have a sweet-tart taste.
- Choose firm apples like Granny Smith, Honeycrisp, or Braeburn
- Slice apples to uniform thickness for even cooking
- Toss apples with sugar and spices to enhance natural flavors
The secret to a great apple pie filling is letting the apples rest. As they sit with sugar and a bit of salt, they release their juices. This makes a rich, flavorful liquid that adds depth to your pie.
When making your cinnamon apple pie filling, remember these important steps:
- Mix sliced apples with sugar and spices
- Let the mixture rest for 30-45 minutes
- Drain excess liquid, but save it for added flavor
- Combine the apples and reserved liquid before filling the pie crust
Pro tip: Don’t throw away the liquid from your apples. This sweet syrup makes your filling even more intense. It’s perfect for reducing to concentrate the flavors in your apple pie.
Expert Tips for Apple Pie Success
Making the perfect easy apple pie is more than just following a recipe. Professional bakers know that success comes from mastering small techniques. These techniques turn a simple dessert into a memorable culinary experience.
Your journey to a flawless apple pie begins with understanding key baking tips. These tips can make or break your dessert.
Temperature Control Secrets
Keeping the oven at a consistent temperature is key for a perfectly baked pie. Here are some expert tips:
- Preheat your oven to exactly 375°F
- Use an oven thermometer to check the actual temperature
- Avoid opening the oven door too often during baking
- Place the pie on the center rack for even heat
Time Management Strategies
Planning ahead can make your easy apple pie recipe easier to prepare:
- Make the pie crust a day before
- Slice apples ahead of time and store in lemon water
- Organize ingredients before assembling the pie
Common Mistakes to Avoid
Here are some tips to avoid common quick apple pie mistakes:
- Prevent soggy bottom crusts by pre-baking the pie shell
- Use firm apple varieties that keep their shape during baking
- Drain excess liquid from the apple filling
- Let the pie cool completely before slicing
By mastering these techniques, you can take your apple pie from good to extraordinary. This ensures a delicious dessert that will impress every time.
Baking Times and Temperature Guidelines
Getting your homemade apple pie just right is all about the baking times and temperatures. Fall baking is all about that perfect golden-brown crust and a filling that bubbles over. The secret is baking at 400°F, which is the perfect temperature for your dessert.
Knowing the right baking technique can make your pie go from good to amazing. Here are some key tips to make sure your apple pie is perfect:
- Preheat your oven to exactly 400°F
- Bake for about 75 minutes
- Look for visual signs of doneness
Signs of doneness are key in fall baking. Here’s what to watch for:
| Indicator | What to Look For |
|---|---|
| Crust Color | Deep golden-brown |
| Filling | Thick and bubbling |
| Edges | Slightly caramelized |
Professional bakers say that every oven is unique. Your pie might take a bit longer to bake, depending on your oven. Always watch your pie closely in the last 15 minutes to avoid over-browning.
Pro tip: If the crust browns too fast, use an aluminum foil tent. It keeps the crust from burning while the filling cooks well.
Storage and Serving Recommendations
Making the perfect simple apple dessert is more than baking an easy apple pie. It’s about how you store and serve it. This keeps your homemade pie tasting great.
Cooling and Setting Time
Patience is key when serving your apple pie. Let it cool at room temperature for at least 3-4 hours. This time lets the filling set right, avoiding a runny texture and giving you clean slices.
Proper Storage Methods
- Room Temperature Storage: Keep your pie covered with a loose tent of aluminum foil for up to 2 days
- Refrigerator Storage: Extend freshness by storing in the refrigerator for up to 5 days
- Freezer Storage: Wrap tightly and freeze for up to 3 months
Reheating Instructions
To get that fresh taste back, follow these reheating tips:
| Method | Temperature | Time |
|---|---|---|
| Oven | 350°F | 15-20 minutes |
| Microwave | Medium | 30-45 seconds |
Pro tip for your easy apple pie recipe: Always reheat uncovered to keep the crust crisp. Enjoy your delightful simple apple dessert at its best!
Variations and Creative Twists
Make your fall baking stand out with new twists on the classic apple pie. A few simple changes can turn your dessert into something amazing. It will impress your family and guests.
Try these tasty dutch apple pie recipe variations for a fresh take on autumn baking:
- Crumb Topping Delight: Swap the pie crust for a streusel topping. It’s made from flour, brown sugar, and cold butter.
- Add spices like cardamom or chai blend for a unique taste.
- Use different fruits like cranberries or pears for a seasonal twist.
Need something for special diets? Here are some options:
- Gluten-free crust made with almond flour or gluten-free flour blend.
- Vegan version uses coconut oil instead of butter.
- Low-sugar alternatives with natural sweeteners.
Looking for quick ideas? These fall baking options are fast and delicious:
| Dessert | Preparation Time | Difficulty Level |
|---|---|---|
| Apple Crisp | 30 minutes | Easy |
| Apple Galette | 45 minutes | Moderate |
| Apple Tart | 60 minutes | Advanced |
Try these creative twists to make your dutch apple pie a standout dessert. It will be a hit at any fall gathering.
Troubleshooting Common Apple Pie Problems
Making the perfect homemade apple pie can be tough, even for pros. But don’t worry! Every easy apple pie recipe has its challenges. Knowing how to fix these can make baking much better.
Let’s look at some common problems you might face:
- Soggy Bottom Crust: To avoid this, preheat your baking sheet and use a glass pie dish. This helps crisp the bottom.
- Runny Filling: Make sure you’re using the right apples and let the filling set for enough time.
- Overbrowning Edges: To protect your pie crust, cover the edges with aluminum foil while baking.
Here’s a quick guide to solving common apple pie problems:
| Problem | Solution |
|---|---|
| Watery Filling | Use firmer apple varieties and add cornstarch |
| Tough Crust | Minimize handling and keep ingredients cold |
| Uneven Baking | Rotate pie midway through baking process |
With these tips, your homemade apple pie will be a hit every time. Remember, the more you practice, the better you’ll get at making the perfect easy apple pie recipe!
Conclusion
Making the perfect homemade apple pie is more than a recipe. It’s a way to connect generations through delicious traditions. Your easy apple pie recipe journey has given you the skills to turn simple ingredients into a delicious dessert. This dessert will surely impress your family and friends.
Every slice of your homemade apple pie shows your culinary skill. You’ve learned to pick the best apples and make a flaky crust. These skills turn a classic dessert into something truly special. The tips and techniques in this guide will help you make a pie that looks and tastes amazing.
Baking is all about trying new things and having fun. As you make more pies, you’ll get better and add your own special touches. Whether it’s for a holiday or a weekend treat, your skills will make every bite unforgettable.
We encourage you to be your own baker, trust your instincts, and enjoy making an unforgettable apple pie. Your kitchen is now a place for creativity, and this recipe is your tool to make culinary magic.
Tried Our Recipe Yet?
There are no reviews yet. Be the first one to write one.