Walking into a kitchen filled with the sweet aroma of date bars is magical. My grandmother’s sticky date cake recipe brought our family together. It turned simple ingredients into moments of joy. This date bars recipe does the same, creating a treat that connects us through its taste.
Imagine making a dessert that’s not only delicious but also easy to make. These date bars mix chewy dates with a crunchy oat base. They offer a perfect mix of textures that will delight your taste buds. Whether you’re new to baking or experienced, this recipe is a sure way to make a tasty homemade treat.
Table of Contents
Why Date Bars Are the Perfect Healthy Dessert Choice
Discovering healthy date bars can change how you see sweet treats. These chewy date snacks are a nutritious choice instead of traditional desserts. They offer great taste and health benefits.

Dates are full of nutrients, making date bars a great pick for those who care about health. Their natural sweetness means no refined sugar, so you can enjoy them without guilt.
Remarkable Health Benefits of Dates
- Rich in essential minerals like potassium and magnesium
- High in dietary fiber for improved digestion
- Contains antioxidants that support overall wellness
- Provides sustained energy without sugar crashes
Natural Sweetness Redefined
Your chewy date snacks have a unique sweetness from whole fruits. This means you get natural sugars with extra nutrients. Unlike processed desserts, they don’t offer empty calories.
Nutritional Profile Breakdown
Each serving of date bars has a balanced mix of nutrients. They have complex carbs, natural sugars, and essential nutrients. This makes them a smart snack choice.
| Nutrient | Amount per Bar |
|---|---|
| Calories | 265 |
| Total Fat | 12g |
| Carbohydrates | 39g |
| Protein | 3g |
Choosing healthy date bars is a smart choice for your body and taste buds. These snacks show that healthy eating can also be delicious and fulfilling.
Essential Ingredients for Perfect Date Bars
Making tasty medjool date sweets begins with picking the right ingredients. The quality of your date squares depends on what you choose. Let’s explore the key ingredients for a great baking experience.

To make perfect date squares, it’s important to pick each ingredient carefully. Knowing how each part affects the final taste is key.
Choosing the Right Dates
Not all dates are the same. Medjool dates are the best for date squares because of their:
- Rich, caramel-like flavor
- Soft, creamy texture
- Natural sweetness
- High moisture content
Key Dry Ingredients
Your date squares need a mix of dry ingredients for a solid base:
| Ingredient | Quantity | Purpose |
|---|---|---|
| All-purpose flour | 1 ½ cups | Provides structure |
| Rolled oats | 1 ½ cups | Adds texture and nutrition |
| Brown sugar | 1 cup | Enhances sweetness and moisture |
| Chopped walnuts | ½ cup | Brings crunch and depth |
Wet Ingredients and Binding Agents
Wet ingredients are key for sticky date squares. Butter is a main binder, keeping everything together and adding flavor.
- Use unsalted butter for better control of sweetness
- Ensure butter is at room temperature for easy mixing
- Softened butter helps create a smooth, consistent texture
By choosing and mixing these ingredients well, you’ll make date squares that are healthy and super tasty.
Kitchen Tools and Equipment Needed
To make tasty date bars, you need some basic kitchen tools. Before you begin, collect these important items for easy and successful baking.
Essential Baking Equipment
- 8-inch square baking dish – The perfect size for creating perfectly shaped date bars
- Large mixing bowl for combining ingredients
- Measuring cups and spoons for precise ingredient quantities
- Parchment paper for easy removal and clean-up
- Spatula or wooden spoon for mixing
- Cooling rack for allowing bars to set properly
Having these tools will help your date bars recipe. An 8-inch square baking dish is key for the right thickness and texture.
Optional but Helpful Tools
- Electric mixer for easier ingredient blending
- Kitchen scale for precise ingredient measurements
- Silicone baking mat as an alternative to parchment paper
While not essential, these tools can make your baking easier and more precise. Good baking equipment ensures your treats always taste great.
Pro tip: Always make sure your baking tools are clean and dry before starting. This keeps your date bars’ flavor and texture at their best.
Step-by-Step Date Bars Recipe
Making the perfect date bars recipe needs care and precision. Your homemade sticky date cake will impress everyone with its sweet flavor and soft texture. Follow these steps to make a delicious treat that mixes the natural sweetness of dates with a crunchy oat base.
Preparing the Date Filling
Begin by making a rich date filling. You’ll need to:
- Select plump, soft Medjool dates
- Chop dates into small pieces
- Combine dates with water in a saucepan
- Simmer until dates become a smooth, thick paste
Making the Oat Mixture
The base of your date bars is the oat mixture. Gather your dry ingredients and follow these steps:
- Mix rolled oats with flour
- Add brown sugar for sweetness
- Incorporate melted butter to bind ingredients
- Blend until crumbly texture forms
Assembly and Baking Instructions
To bring your date bars to life, layer and bake them carefully. Here’s a detailed guide:
| Step | Action | Details |
|---|---|---|
| 1 | Preheat Oven | 350°F (175°C) |
| 2 | Layer Base | Press 2/3 of oat mixture into baking dish |
| 3 | Add Filling | Spread date mixture evenly |
| 4 | Top Layer | Crumble remaining oat mixture on top |
| 5 | Bake | 25 minutes until golden brown |
Your sticky date cake is now ready to enjoy! Let the date bars cool completely before cutting into squares for the perfect texture and presentation.
Tips for Achieving the Perfect Texture
Making delicious chewy date snacks needs care and detail. The texture of your date bars is key. Knowing a few techniques will help you get that perfect texture every time.
Measuring ingredients right is key for chewy date snacks. Use dry measuring cups for dry stuff and liquid measuring cups for wet stuff. This ensures you get the right mix.
- Sift dry ingredients to avoid lumps and get a smoother mix
- Press the oat mix firmly into the pan for a solid base
- Let the date filling cool a bit before spreading for the best texture
For your date filling, aim for a smooth, spreadable mix. Softening dates a bit can help make the mix more even for your chewy date snacks.
| Texture Issue | Solution |
|---|---|
| Dry Bars | Add an extra tablespoon of liquid or oil |
| Crumbly Mixture | Make sure it’s well bound with eggs or plant-based stuff |
| Runny Filling | Cook the dates longer to cut down moisture |
Watch the baking time and temperature closely. Overbaking makes the snacks dry and tough. Underbaking makes them soggy. Use a timer and look for golden edges to know they’re done right.
Nutritional Information and Serving Size
Knowing the nutritional facts of healthy date bars helps you make better food choices. These treats are not just tasty; they’re also packed with nutrients that support your health.
Our healthy date bars aim to give you a balanced mix of energy and nutrients. They’re designed to fit into many different diets.
Caloric Content per Bar
Each bar has about 265 calories. This makes them perfect for a quick snack or a boost of energy when you need it.
Macronutrient Breakdown
- Fat: 12g – From natural ingredients
- Carbohydrates: 39g – For lasting energy
- Protein: 3g – Helps keep muscles strong
- Fiber: 2g – Good for your digestive health
Dietary Considerations
These bars are made to be flexible. They have natural sugars from dates, about 23g per bar. They’re a great choice for:
- Snacking after working out
- Getting a midday energy lift
- A healthier dessert option
Even though they’re nutritious, enjoy these bars as part of a balanced diet. Everyone’s nutritional needs are different. Think about your health goals when adding them to your meals.
Storage and Shelf Life Guidelines
Storing your no-bake date treats right is key to keeping them tasty and fresh. A few simple steps can help keep these treats perfect for a long time.
For the best results, put your treats in an airtight container. This stops moisture and keeps them just right. You can choose from a few storage options:
- Refrigerator Storage: Keeps your date treats fresh for up to 7 days
- Freezer Storage: Extends shelf life to 3 months
- Room temperature storage works for 2-3 days in cool, dry conditions
Wrap each bar in plastic wrap or parchment paper if you store them in the fridge. This stops them from sticking together. For the freezer, use a freezer-safe container or a zip-lock bag.
Thawing frozen treats is easy. Just let them sit at room temperature for 15-20 minutes. If they’re a bit dry, a 10-second microwave warm-up can make them soft again.
Remember, always check for spoilage before eating stored date treats. Look for any color, smell, or texture changes that might mean they’re not fresh anymore.
Variations and Customization Options
Making tasty date bars for different diets is simple. You can make vegan or gluten-free date desserts. These treats can fit many tastes and needs.
Trying out different versions makes date bars fun for all. Let’s look at some creative ways to change up your recipe.
Gluten-Free Adaptations
It’s easy to make gluten-free date desserts with the right swaps. Here are some ideas:
- Use certified gluten-free rolled oats
- Replace wheat flour with almond flour or coconut flour
- Opt for gluten-free oat flour blends
Nut-Free Alternatives
For those with nut allergies, here are some good substitutes:
- Replace nut-based flours with sunflower seed flour
- Use seed butter instead of nut butter
- Incorporate pumpkin seeds for crunch
Vegan Modifications
Making vegan date bars is easy with plant-based swaps:
- Use coconut oil instead of butter
- Substitute eggs with flax or chia seed “eggs”
- Select plant-based sweeteners like maple syrup
By trying these changes, you can make yummy vegan and gluten-free date bars. Everyone can enjoy them!
Common Troubleshooting Tips
Making the perfect date bars recipe can be tricky. Even skilled bakers face problems sometimes. Knowing common issues helps you make great date bars with ease.
When your date bars don’t turn out right, you might face certain problems. Here are some tips to get delicious results:
- Crumbly Texture: If your date bars crumble, add more binding ingredients. Try an extra egg or more butter to help them stick together.
- Dry Bars: Dry date bars can happen if you overmix or bake too long. Shorten baking time and mix gently to keep them moist.
- Runny Filling: Watery dates can make the base soggy. Use fresh, slightly dried dates and cook the filling until it thickens before spreading.
The size of your baking pan affects your date bars. Adjust ingredients if you use a different pan size. For bigger batches, just multiply the ingredients while keeping the ratio the same.
Being precise is important in baking. Always measure ingredients accurately and follow the recipe closely. Small changes can greatly affect your date bars’ texture and taste.
- Check oven temperature with a separate thermometer
- Use room temperature ingredients
- Allow bars to cool completely before cutting
With these tips, you’ll be able to make perfect date bars every time. Remember, practice and patience are essential to mastering this recipe.
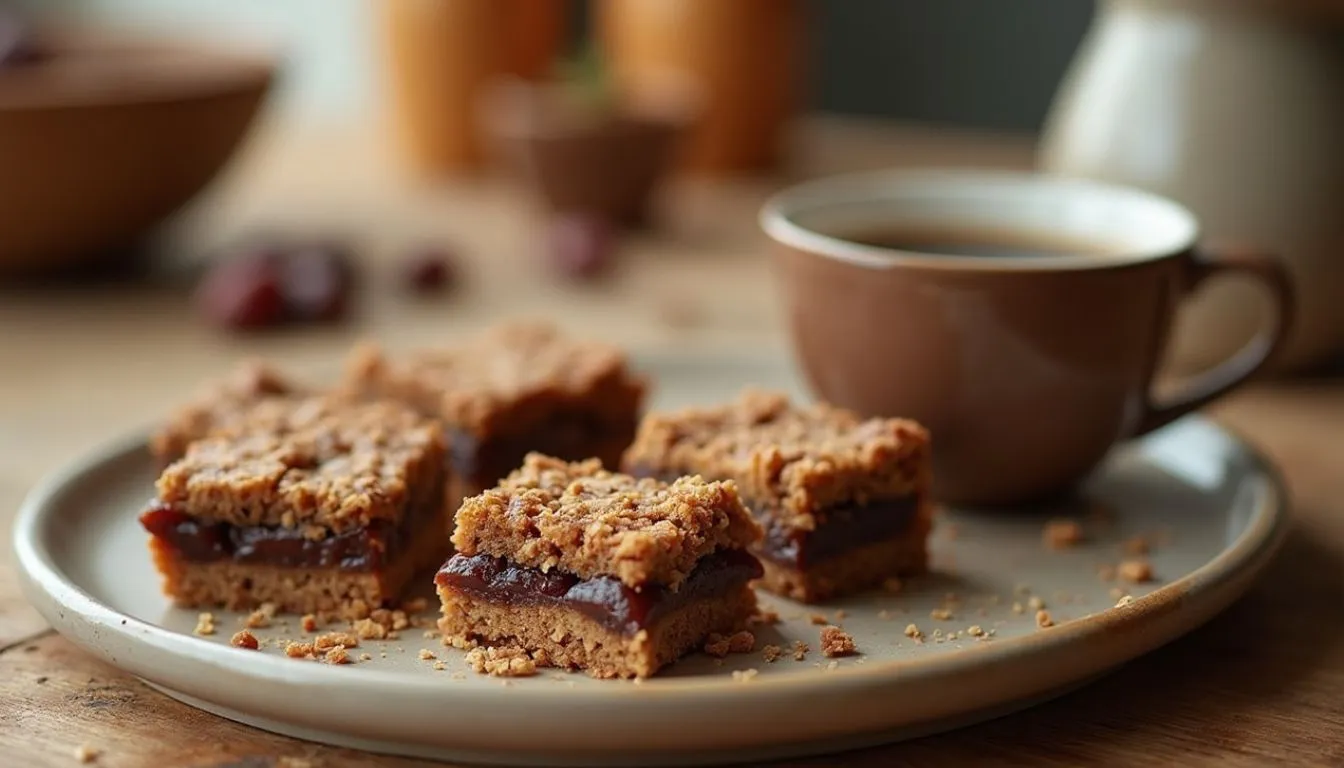
Serving Suggestions and Pairings
Your homemade date bars are perfect for any time. They’re great for a quick snack or a fancy dessert. These treats can be dressed up for any event.
Drinks can make your date bars even better. Try these tasty pairings:
- Arabic coffee with cardamom
- Mint tea
- Cold milk
- Herbal chamomile tea
To get a real taste of the Middle East, serve your date bars with other traditional treats. This will bring the rich flavors of the region to your table.
| Serving Style | Recommended Accompaniments |
|---|---|
| Breakfast | Greek yogurt, fresh figs, pistachios |
| Afternoon Snack | Mint tea, almond butter |
| Dessert | Vanilla ice cream, whipped cream |
Be creative with your date bars. Crush them over ice cream or top yogurt in the morning. Their flexibility lets you find new ways to enjoy them.
Pro tip: Warm the date bars a bit before serving. This brings out their sweet, caramel flavor. It also makes them soft and delicious, impressing everyone.
Conclusion
Making your own date bars is more than baking. It’s about creating a treat that’s good for you. These bars mix health with taste, making them great for those who love healthy snacks.
This recipe is flexible, fitting many diets. You can make them gluten-free, vegan, or try new ingredients. It’s a chance to get creative in the kitchen.
Homemade date bars are a simple way to add healthy foods to your diet. By learning this recipe, you’ve opened up a world of healthy baking. We encourage you to try new things, share your experiences, and make these bars your own.
Great cooking is about passion, creativity, and enjoying the process. Your adventure with date bars is just starting. Dive in, enjoy every moment, and have fun!
Tried Our Recipe Yet?
There are no reviews yet. Be the first one to write one.