Winter brings magic when snow covers the ground. As a kid, I loved racing outside with my family. We laughed and dreamed of making the best snow ice cream.
This winter, make your days sweeter with our homemade snow ice cream recipe. It turns snow into a creamy treat in just five minutes. This dessert brings families together, creating lasting memories.
If you’re a parent or just love unique desserts, this recipe is for you. It’s a fun winter treat that turns snow into a delicious delight!
Table of Contents
What Makes Snow Ice Cream a Perfect Winter Treat
When winter covers everything in fresh snow, a special tradition starts: vanilla snow cream. This winter dessert turns simple things into a tasty delight. It brings back childhood memories and adds to the joy of the season.

Snow ice cream is more than a sweet treat. It’s a way to connect families across generations. It’s a fun recipe that turns winter’s snow into a yummy dessert.
Exploring the Roots of Snow Ice Cream
The history of snow ice cream goes back to rural areas. Families there used what they had to make a tasty frozen treat. They found that fresh snow could be turned into a sweet delight with just a few ingredients.
- Native American communities first tried snow-based desserts
- Pioneering families made their own recipes during long winters
- These recipes have been passed down for years
Why This Recipe Stands Out
Your vanilla snow cream recipe is special because of its:
- Easy preparation
- Just a few ingredients needed
- True winter experience
- Creating memories with family
Ensuring Safe Snow Collection
When making your winter dessert, safety is key. Always pick clean snow from places untouched by pollution. Stay away from snow near roads, buildings, or polluted areas.
Here are some tips for safe snow collection:
- Pick snow from open, clean spots
- Use a clean container to collect it
- Steer clear of yellow or dirty-looking snow
- Choose the top layers of fresh snowfall
Essential Ingredients for Snow Ice Cream Recipe

To make the perfect winter treat, you need a few key ingredients. These will turn clean snow into a tasty dessert that everyone will enjoy.
The main ingredients are easy to find and probably in your kitchen already:
- Fresh, clean snow (about 8-10 cups)
- Sweetened condensed milk (1 can)
- Pure vanilla extract (1-2 teaspoons)
- Pinch of salt
Choose snow that’s clean and fresh from a safe place. Stay away from snow near roads or parking lots. The quality of your snow affects the taste and safety of your dessert.
Adding some extra ingredients can make your snow cream even better:
- Chocolate syrup
- Sprinkles
- Crushed cookies
- Fresh fruit
Remember, use a clean bowl or container for snow. Don’t use metal tools, as they can give your dessert a metallic taste. Plastic or wooden tools are best for mixing and serving.
Kitchen Tools and Equipment Needed
To make snow ice cream, you need the right tools and equipment. Whether you’re new or experienced, the right kitchen supplies make the process fun and easy.
Before you begin, gather some essential kitchen tools. The right tools turn your snow ice cream into a tasty adventure.
Preparation Tools
- Large mixing bowl (stainless steel or glass recommended)
- Whisk or electric mixer
- Rubber spatula
- Clean snow collection container
- Large spoon for mixing
Storage Containers
Storing your snow ice cream right is key. Here are some good container options:
| Container Type | Best For | Recommended Material |
|---|---|---|
| Freezer-safe tupperware | Short-term storage | Plastic with tight lid |
| Glass container | Longer preservation | Airtight glass with sealed lid |
| Disposable freezer containers | Quick serving | Plastic with snap-on lid |
Measuring Equipment
Getting the measurements right is important for perfect snow ice cream. Here are the tools you need:
- Liquid measuring cups (for milk and vanilla)
- Dry measuring cups
- Measuring spoons
- Kitchen scale (optional but helpful)
With these tools, you’re set to make a delicious snow ice cream. It will impress everyone. The right equipment makes the process fun!
How to Collect and Prepare Fresh Snow
Making a tasty fresh snow dessert begins with the right snow. Not all snow is good for homemade snow ice cream. You need to pick the right spot and method for gathering your snow.
Here are key steps for collecting snow for your homemade snow ice cream:
- Wait until at least an hour after snowfall begins
- Avoid collecting snow near roads, trees, or areas with possible contamination
- Choose an open area away from pollutants
- Use a clean, large plastic or stainless steel bowl for collection
The quality of the snow is very important for your dessert. Clean, fresh snow is essential for a safe and tasty treat. Look for snow that is pure white and feels light and fluffy. Stay away from yellow, gray, or discolored snow.
Collect about 8-10 cups of snow for the best results. This amount makes a creamy and delightful dessert. Tip: Wear clean gloves and use a clean utensil to scoop the snow.
After collecting, bring the snow indoors quickly. Start your homemade snow ice cream recipe right away. Fresh snow melts fast, so timing is key for a perfect winter treat.
Step-by-Step Snow Ice Cream Recipe
Making snow ice cream is simpler than you think. It turns fresh snow into a creamy dessert loved by all. Follow these easy steps to make it.
First, make sure you have clean, fresh snow and the right ingredients. Getting ready is important for a tasty winter treat.
Base Mixture Preparation
Start by gathering your ingredients. You’ll need:
- 1 cup milk (whole milk works best)
- 1/3 cup granulated sugar
- 1 teaspoon vanilla extract
- Pinch of salt
Combining Snow with Base
The key to great snow ice cream is mixing. Whisk the milk, sugar, vanilla, and salt until the sugar dissolves. Slowly add fresh, clean snow and stir gently until it’s just right.
Texture Adjustment Tips
Getting the right texture is a bit of a trick. If it’s too thin, add more snow. If it’s too thick, a bit of milk will help. Aim for a smooth, creamy texture like soft-serve ice cream.
- Stir gently to keep it light and fluffy
- Work fast to avoid melting
- Serve right away for the best taste and texture
Now you can make snow ice cream that will wow your family and friends. Enjoy this special winter dessert that turns snow into a tasty treat!
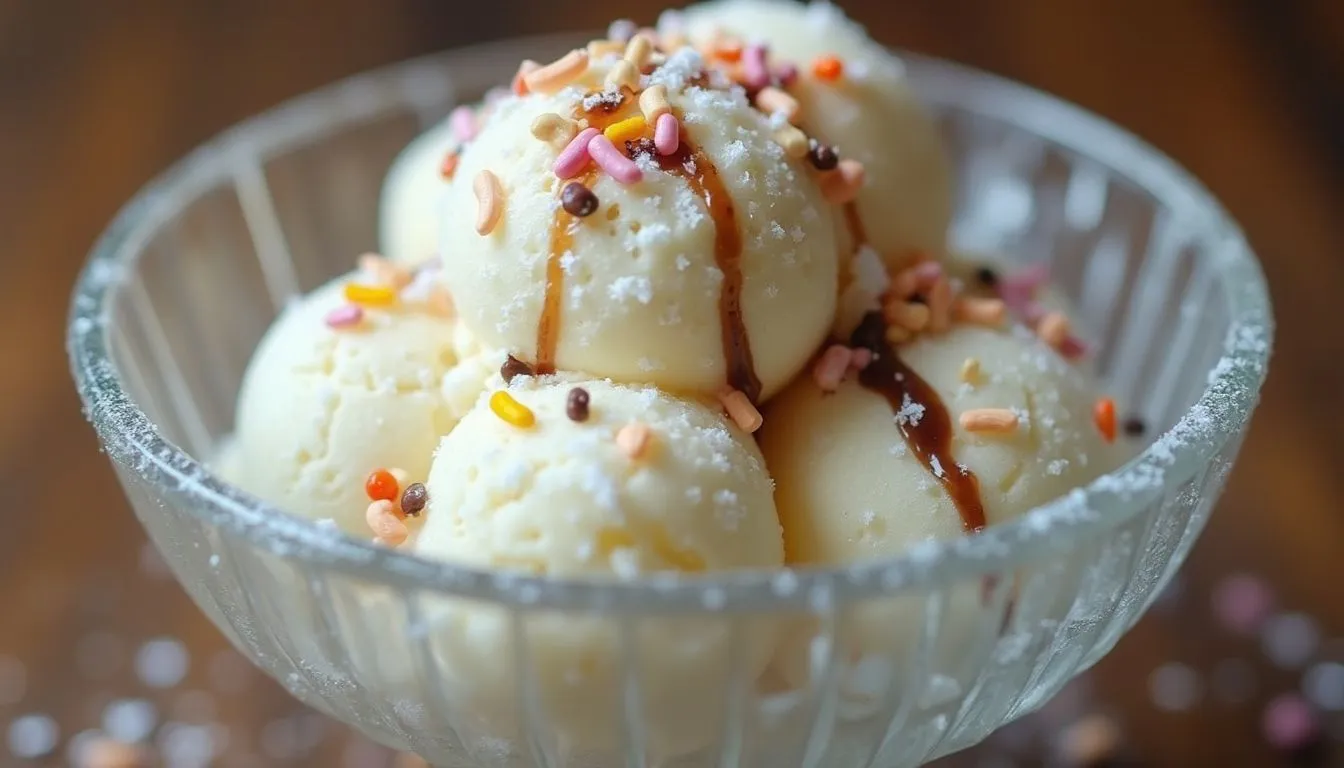
Delicious Flavor Variations and Toppings
Make your winter dessert special with creative flavors. The classic vanilla snow cream is a great base. It lets you add exciting mix-ins and toppings for a memorable treat.
Try these tasty flavor variations to make your snow ice cream stand out:
- Chocolate Lover’s Dream: Mix cocoa powder into your base or sprinkle chocolate chips for rich decadence
- Fruity Explosion: Add fresh berries, diced peaches, or crushed pineapple for a refreshing twist
- Crunchy Delights: Incorporate crushed cookies, nuts, or candy pieces for texture
When making your vanilla snow cream, try these fun additions:
- Crushed Oreo cookies
- Caramel sauce drizzle
- Chopped nuts like almonds or pecans
- Sprinkles for a fun, colorful touch
Pro tip: Add mix-ins gently to keep the snow ice cream’s soft texture. Start with a little and add more as you like. With a few creative touches, your winter dessert can become a unique masterpiece!
Storage Tips and Best Serving Practices
Making an easy snow ice cream treat is just the start. Knowing how to serve and store it can enhance your snow day. It’s all about the details.
Optimal Serving Temperature
Your snow day treat is best enjoyed right after you make it. The perfect time to serve is when you mix the snow with your creamy base. Try to serve it within 15-20 minutes to keep it fluffy and perfect.
Make-Ahead Options
Even though snow ice cream doesn’t keep well for long, you can take steps to keep it fresh:
- Prepare ingredients ahead of time
- Chill mixing bowls before use
- Have toppings ready to go
Preventing Quick Melting
To stop your snow ice cream from melting fast, follow these tips:
- Serve in chilled bowls
- Keep portions small
- Eat it right after you make it
- Work in a cool kitchen
Pro tip: If you’re making snow ice cream for a group, make smaller batches. This way, everyone gets the freshest, most delicious treat!
Nutritional Information and Dietary Considerations
Enjoying homemade snow ice cream in winter is a treat. Knowing its nutritional value helps you make better choices. The basic recipe has a moderate calorie count.
Here’s what a standard serving of homemade snow ice cream looks like:
- Calories: About 132 per serving
- Fat: Around 1g
- Carbohydrates: Roughly 28g
- Protein: About 2g
For those with dietary restrictions, snow ice cream can be modified. Dairy-free alternatives use coconut or almond milk. Those watching sugar can try sugar substitutes or natural sweeteners like stevia.
Here are some dietary tweaks:
- Gluten-free options use certified gluten-free ingredients
- Vegan versions use plant-based milk and sweeteners
- Low-sugar recipes use alternative sweeteners
Remember, homemade snow ice cream is a winter delight. But, it’s important to enjoy it in moderation. The nutritional content can change based on ingredients and toppings.
Troubleshooting Common Snow Ice Cream Problems
Making old fashioned snow cream can sometimes be tricky. When learning how to make snow ice cream, you might encounter a few challenges. These challenges can affect your final dessert. Understanding these issues will help you create the perfect frozen treat every time.
Texture problems are the most common hurdle when preparing snow ice cream. If your mixture turns out too runny, you’ve likely used too much milk or didn’t incorporate enough fresh snow. The key is to add snow gradually and mix carefully to achieve the right consistency.
- Runny Texture: Add more clean snow incrementally
- Icy Consistency: Reduce liquid and mix thoroughly
- Bland Flavor: Increase vanilla or sweetener
Temperature plays a big role in snow ice cream preparation. Warm ingredients or collecting snow near contaminated areas can compromise your dessert’s quality and safety.
| Problem | Solution |
|---|---|
| Too Soft | Freeze for 15-20 minutes before serving |
| Lack of Sweetness | Add extra condensed milk or sugar |
| Uneven Texture | Stir thoroughly while incorporating snow |
Snow quality matters a lot when crafting your old fashioned snow cream. Always collect snow from clean, untouched areas away from roads or contaminants. Fresh, clean snow is the foundation of a delicious snow ice cream experience.
Conclusion
Making snow ice cream is more than a winter activity. It’s a special memory in the making. Your next snow day treat can turn a cold afternoon into a fun adventure. With just a few ingredients and fresh snow, anyone can be a dessert chef.
Trying different flavors and toppings shows that snow ice cream is more than a dessert. It’s a fun way to connect with nature and enjoy winter. Whether with kids or alone, it’s a chance to make snow into a treat that brings joy and warmth.
Don’t miss the next snowfall without trying this magical recipe. Get your favorite ingredients and go outside to collect snow. Your homemade snow ice cream will become a winter tradition that brings smiles and sweet memories for years.
The secret to a perfect snow day treat is creativity, fun, and embracing winter’s magic. So, bundle up, go outside, and start your snow ice cream adventure today!
Tried Our Recipe Yet?
There are no reviews yet. Be the first one to write one.